


- Sheet Material
- Boat Kits
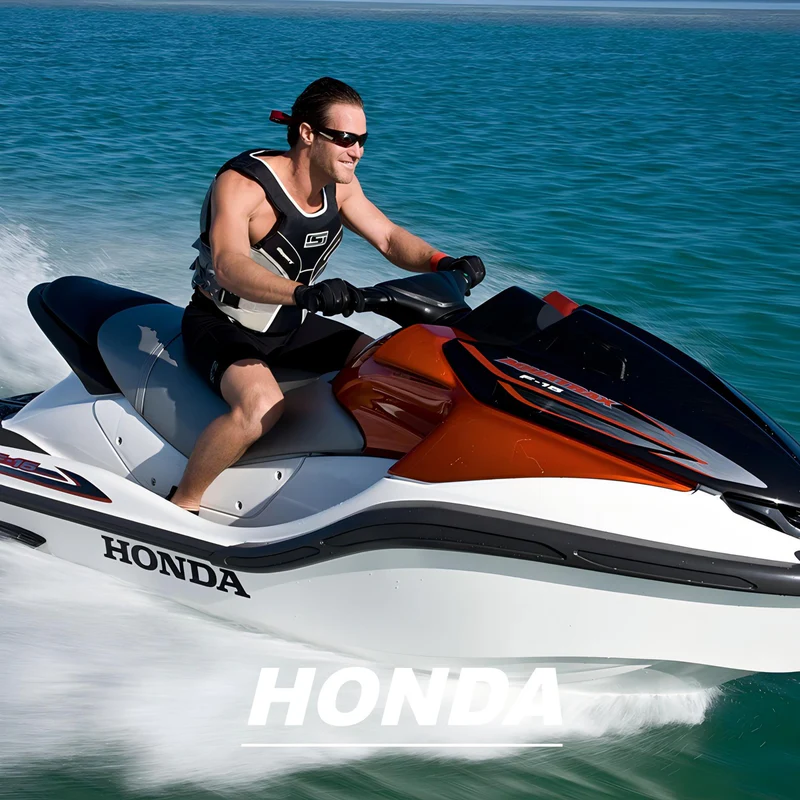
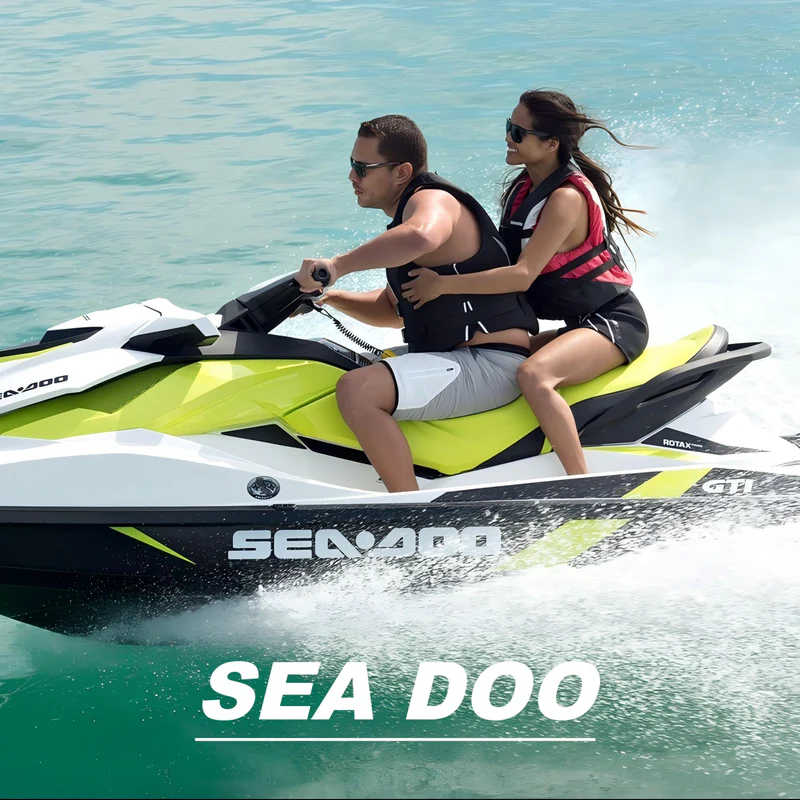
- Jet Ski
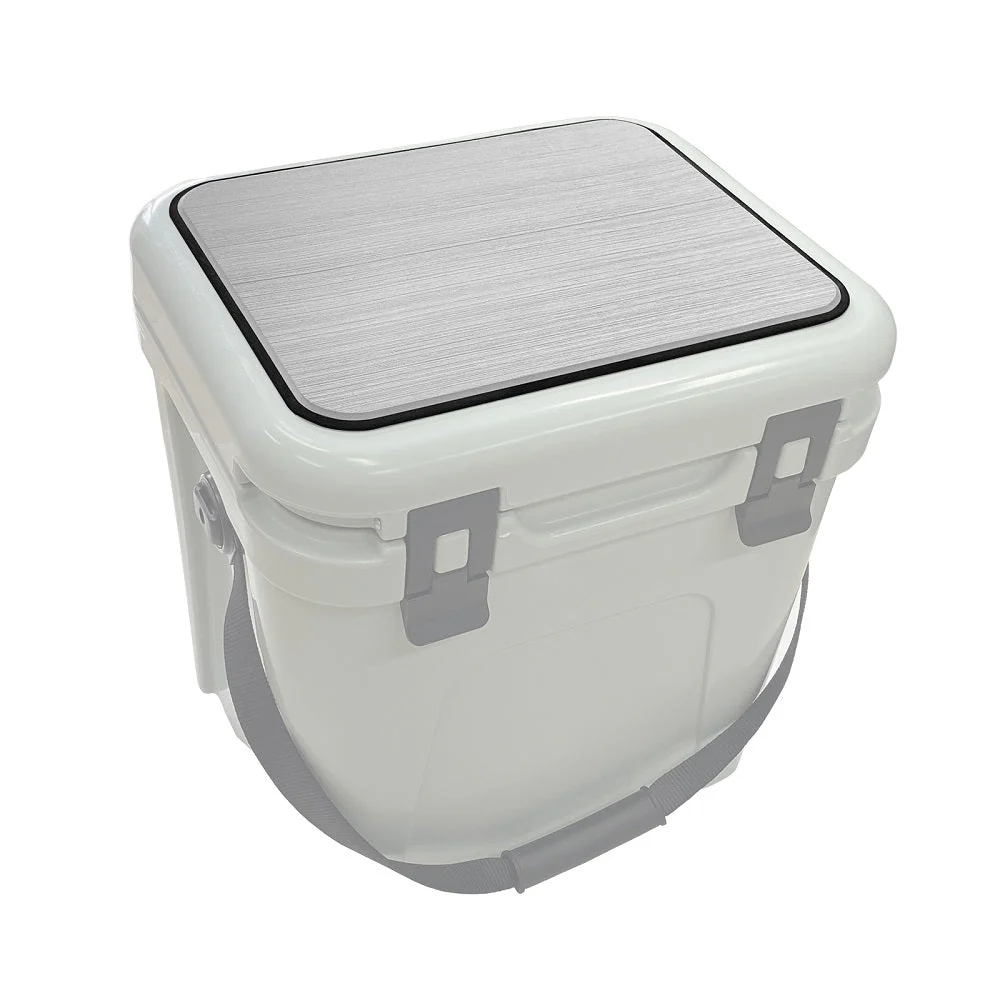
- Cooler Pads
-
 Hzsharks Southwest Cooler Pad for Yeti Tundra 45
$399.86Original price was: $399.86.$92.99Current price is: $92.99. -
 HZSHARKS Yeti Roadie 24 Cooler Mat
$20.99 – $24.99Price range: $20.99 through $24.99
HZSHARKS Yeti Roadie 24 Cooler Mat
$20.99 – $24.99Price range: $20.99 through $24.99
-
Hzsharks Cooler Cushion for Yeti Tundra 45
$69.99Original price was: $69.99.$55.99Current price is: $55.99.
-
- Fish Rulers
-
40" EVA Foam Fish Ruler for Boats
$38.99Original price was: $38.99.$21.99Current price is: $21.99. -
100cm Fish Ruler EVA Foam for Boats - Fish Measuring Stick
$19.99 – $23.99Price range: $19.99 through $23.99
-
Fish Ruler for Boats 48" EVA Foam Fish Measuring Board with Self-Adhesive Backing
$38.99Original price was: $38.99.$25.99Current price is: $25.99.
-
- Boat Nameplate
- Dash Pockets
- Tools


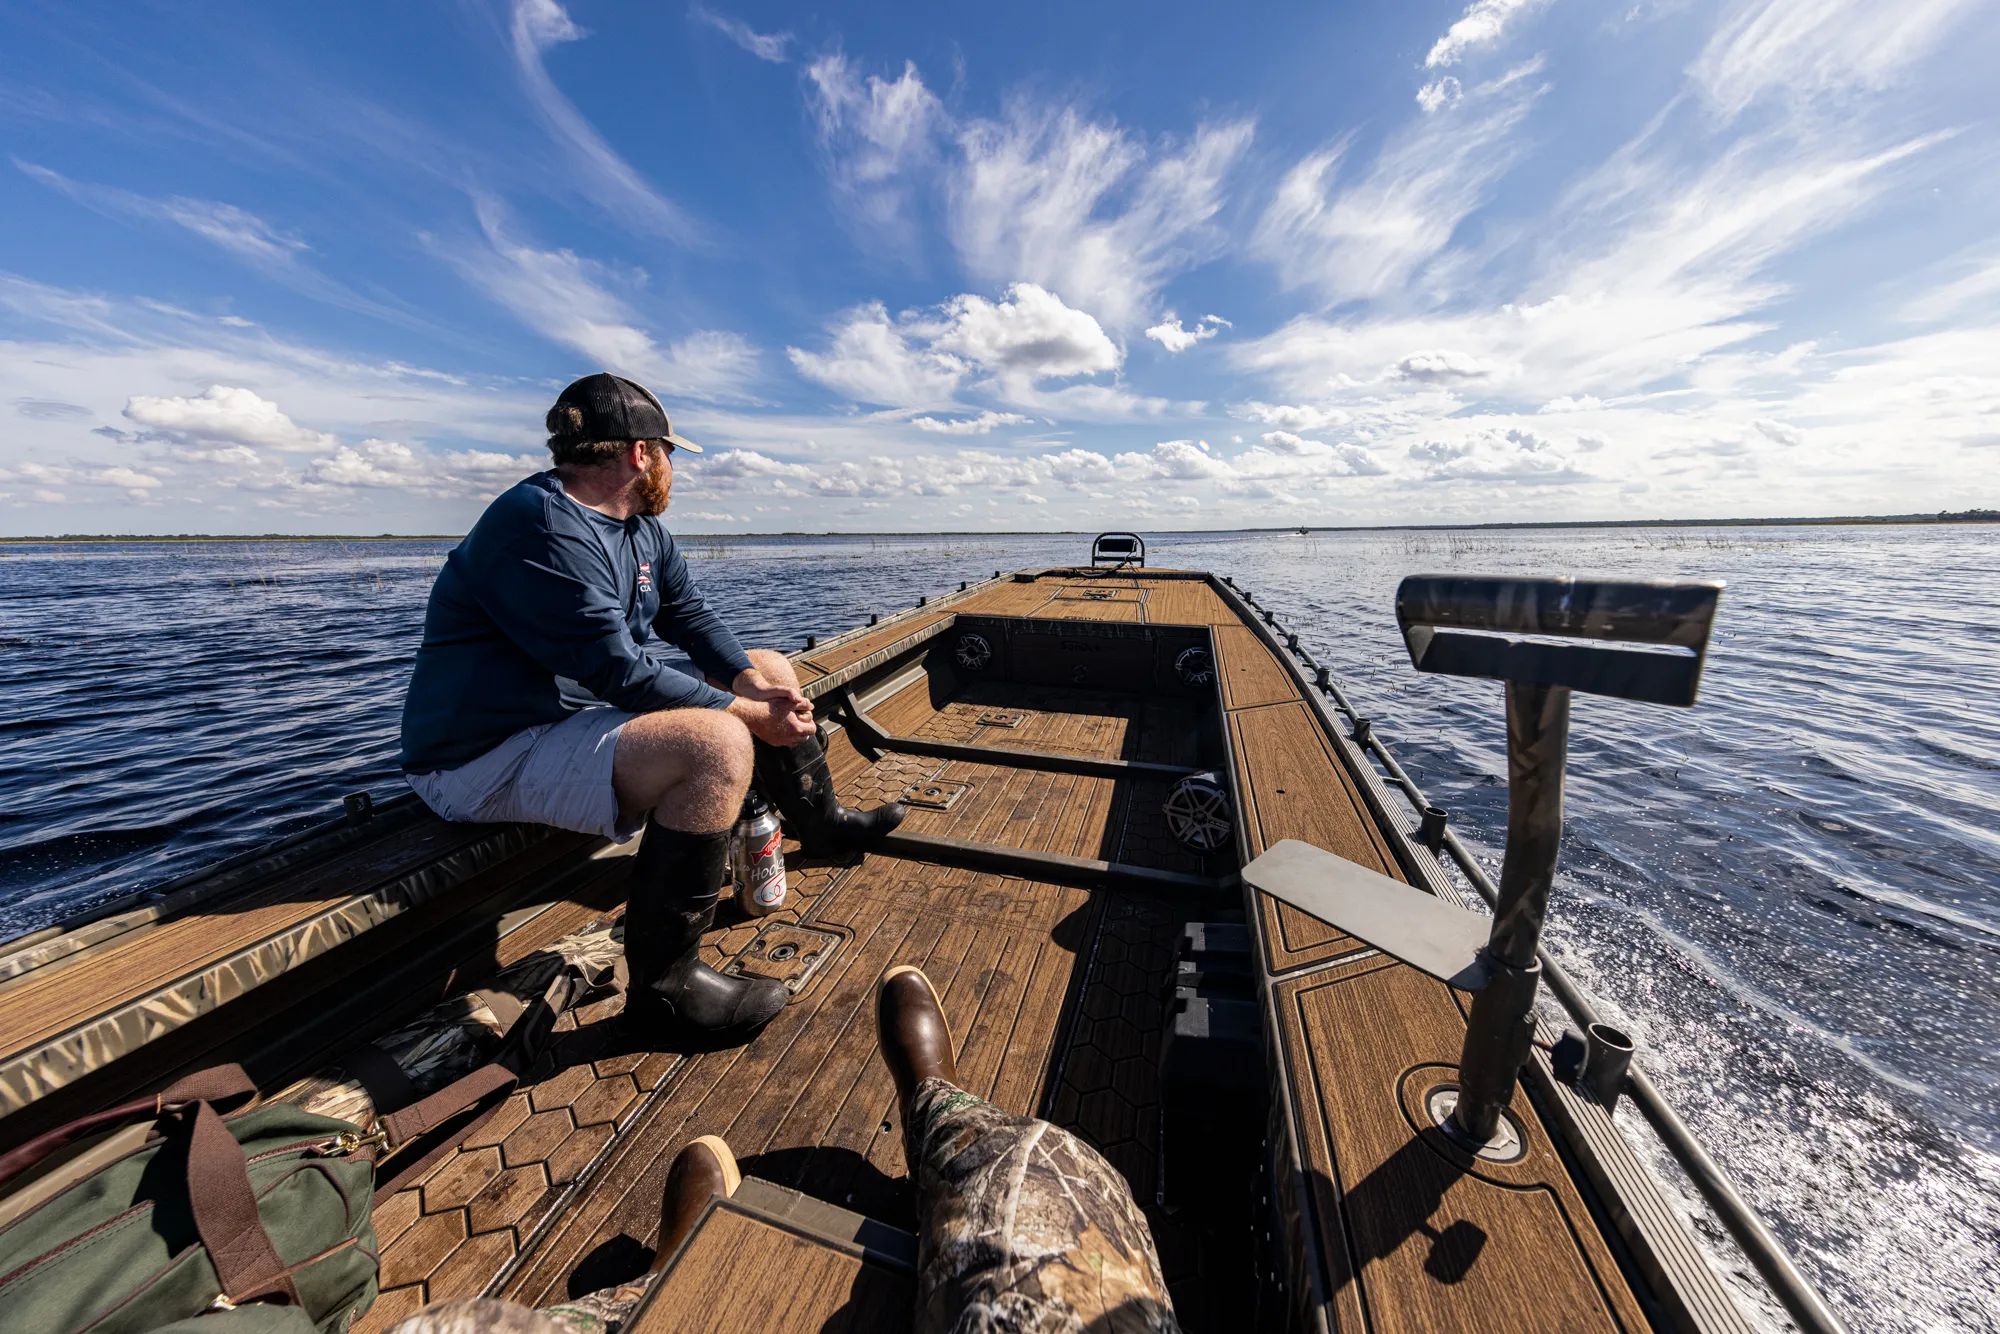


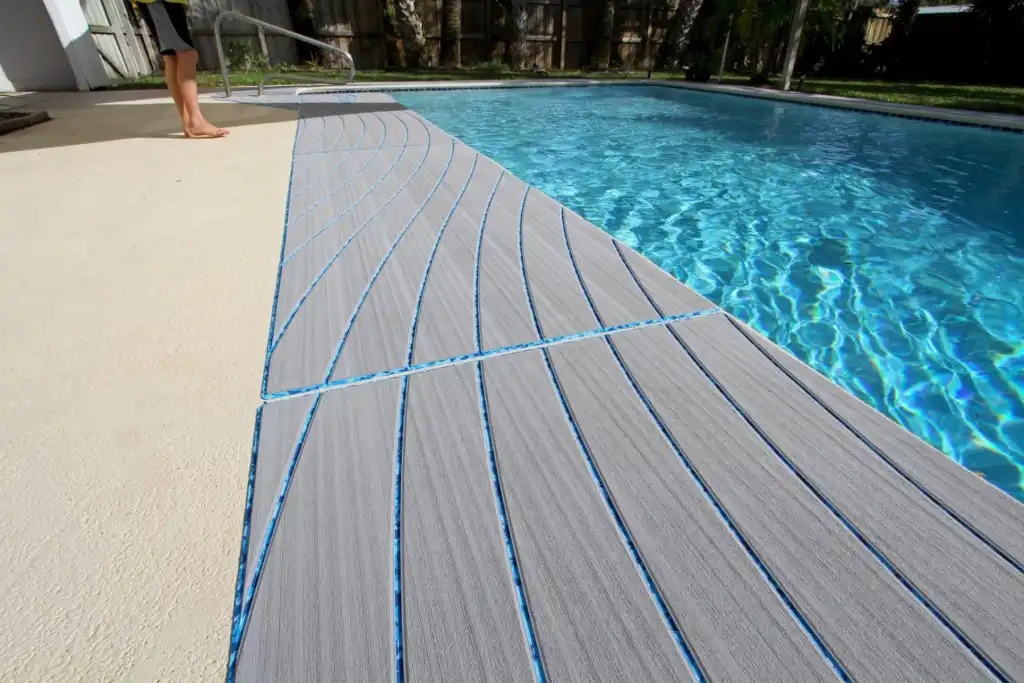


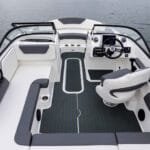
Prepare Your Watercraft: A Guide to Correctly Installing EVA Foam Decking on Your Sea-Doo Swim Platform

We are pleased to present our detailed guide on the installation of EVA foam decking on your Sea-Doo swim platform. Incorporating EVA foam decking not only improves the aesthetic appeal of your boat but also offers a comfortable and secure surface for your aquatic endeavors. In this article, we will guide you through the step-by-step procedure for installing EVA foam decking on your Sea-Doo swim platform, guaranteeing a thorough and professional installation.
Preparing for Installation
Gathering the Necessary Tools and Materials
Prior to commencing the installation of EVA foam decking on your Sea-Doo swim platform, it is crucial to assemble all required tools and materials. Preparing everything in advance will facilitate a seamless and effective installation experience. Below is a list of the tools and materials you will need:
Tools:
– Measuring tape or ruler
– Utility knife or sharp blade
– Straight edge or ruler
– Pencil or marker
– Heat gun or hairdryer (optional, for shaping and trimming the decking)
– Adhesive spreader or trowel
– Roller or squeegee (for ensuring the adhesive and decking are smooth)
Materials:
– EVA foam decking sheets (confirm you have sufficient quantity to cover the entire swim platform)
– Adhesive (select a marine-grade adhesive appropriate for EVA foam decking)
– Solvent or cleaner recommended for the surface of your swim platform
– Clean cloth or sponge for applying the solvent/cleaner
– Masking tape or painter’s tape (to secure the decking during installation)
Ensure that all tools and materials are on hand to prevent any disruptions during the installation process.
Cleaning and Preparing the Swim Platform Surface
Prior to applying the adhesive and installing the EVA foam decking, it is essential to meticulously clean and prepare the surface of the swim platform. This preparation is vital for achieving optimal adhesion and ensuring a durable installation. To clean and prepare the swim platform, follow these steps:
1. Eliminate any existing non-skid surfaces, adhesive remnants, or debris from the swim platform. Utilize a scraper or brush to gently remove any persistent residue.
2. Select a solvent or cleaner that is appropriate for your specific swim platform material. Adhere to the manufacturer’s guidelines for application, using a clean cloth or sponge to apply the solvent or cleaner. Ensure the entire swim platform surface is thoroughly cleaned, eliminating any dirt, grease, or contaminants.
3. Rinse the swim platform with clean water to wash away any leftover solvent or cleaner residue. Confirm that the surface is completely dry before moving on to the next step.
4. Examine the swim platform for any damages or irregularities. Address any issues, such as cracks or uneven areas, before continuing with the installation process.
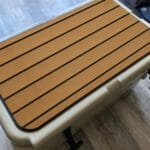
Measuring and Cutting the EVA Foam Decking
Accurate measurements and precise cutting are crucial for ensuring a proper fit and a professional appearance when installing EVA foam decking on your Sea-Doo swim platform. In this section, we will provide a detailed guide on how to measure the swim platform and cut the EVA foam decking for an ideal fit.
Taking Accurate Measurements of the Swim Platform
First, obtain your measuring tape or ruler and meticulously measure the dimensions of your Sea-Doo swim platform. Begin by determining the length and width of the platform, making sure to record the complete measurements.
Pay attention to any irregular features, such as curves, cutouts, or angled edges, as these will necessitate further measurements and careful cutting. Utilize the measuring tape or ruler to accurately gauge the specific dimensions of these areas.
It is crucial to take measurements with utmost precision to guarantee that the EVA foam decking fits securely and completely covers the entire surface of the swim platform.
Using Templates or Tracing the Swim Platform Shape
For a simpler method of cutting the EVA foam decking, consider making templates or tracing the outline of your swim platform onto a sizable sheet of paper or cardboard.
Position the paper or cardboard over the swim platform and meticulously trace its outline, ensuring to include any unique features or cutouts. Take your time to achieve an accurate depiction of the swim platform’s shape.
After creating the template or tracing, you can use it to mark the EVA foam decking sheets for precise cutting.
Cutting the EVA Foam Decking to Fit
Carefully outline the shape of the swim platform onto the EVA foam decking sheets using a pencil or marker, based on the provided measurements or template. Before proceeding with the cutting process, verify the accuracy of your measurements and markings.
Utilize a utility knife or a sharp blade to cut along the marked lines with precision. Take your time and employ a straight edge or ruler to ensure that your cuts are clean and straight.
For any irregular shapes or cutouts, you may need to create additional markings and use a smaller blade or scissors for more precise cuts. Pay close attention to detail to guarantee a seamless fit around the edges of the swim platform and any irregular sections.
Always prioritize safety when handling sharp tools, and remember to cut away from your body to avoid accidents or injuries.
If you have concerns about the accuracy of your measurements, you can reach out to HJDECK with your boat model information. They will create machine-generated drawings to ensure the EVA Foam Decking is cut perfectly for your needs.
Related Products: Sheet material:https://hzsharks.com/product-category/sheet-material/
Jet ski mat kits:https://hzsharks.com/product-category/jet-ski/
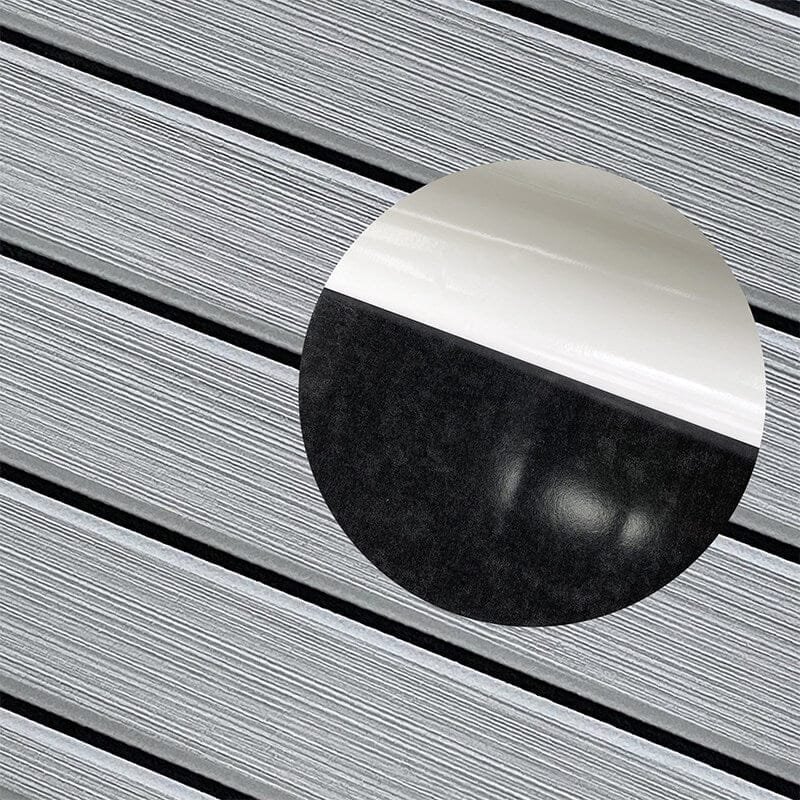
Utilizing Self-Adhesive EVA Foam Decking
Preparing the Swim Platform Surface
Prior to installing the self-adhesive EVA foam decking, it is essential to verify that the surface of the swim platform is clean and devoid of any dirt, debris, or residues. Utilize a solvent or cleaner that is suitable for the material of your swim platform to thoroughly cleanse the surface. Ensure that it is completely dry before moving forward.
Measuring and Cutting the Decking
Begin by measuring the dimensions of your swim platform with a measuring tape or ruler. Transfer these measurements onto the self-adhesive EVA foam decking sheets and indicate the sections that require cutting.
With a sharp utility knife or scissors, carefully cut along the marked lines to produce pieces of decking that will fit your swim platform accurately. Take your time to achieve clean and precise cuts.
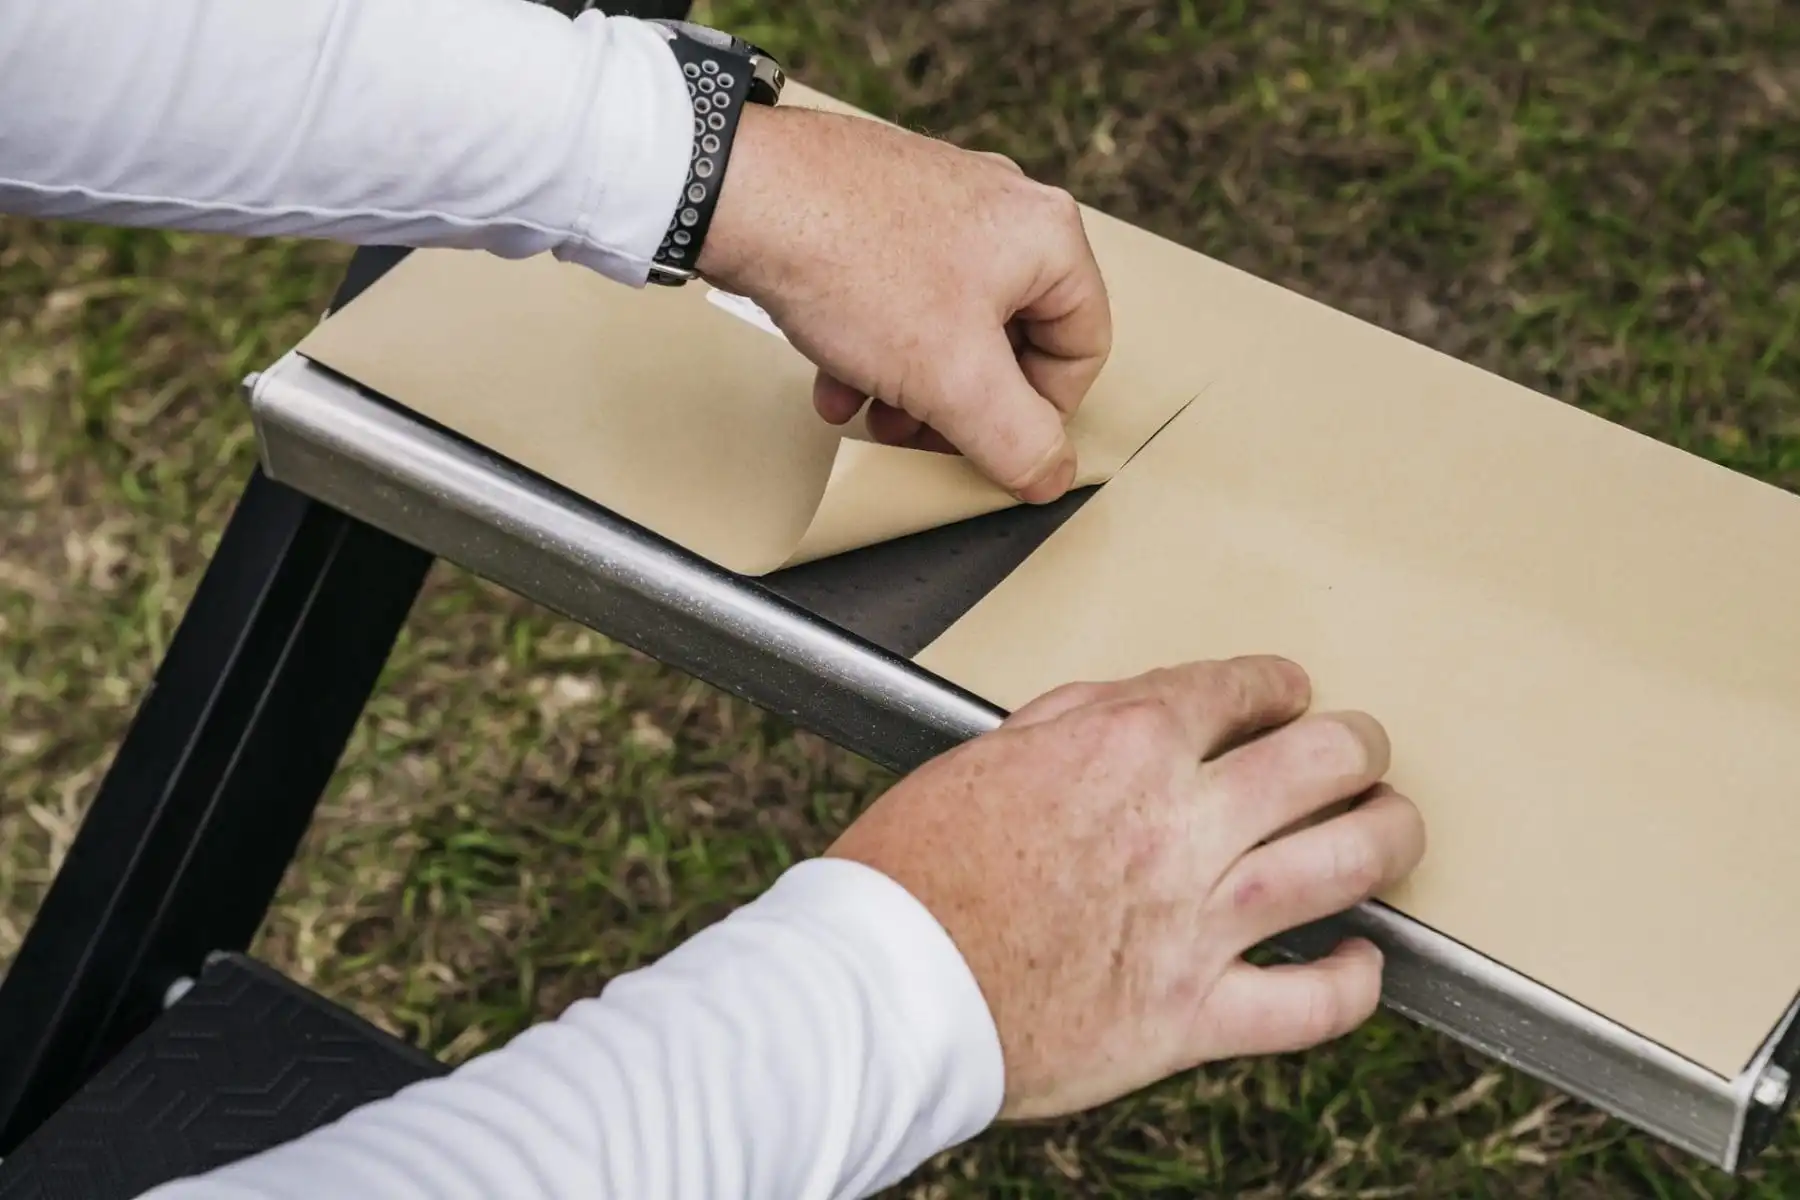
Applying the Self-Adhesive Decking
Remove a small portion of the protective backing from the self-adhesive EVA foam decking. Position the exposed edge along one side of the swim platform and gently press it down, beginning at one end and progressing to the other.
While applying pressure, utilize a roller or your hand to eliminate any air bubbles or wrinkles, ensuring a strong bond between the decking and the surface of the swim platform. Continue this procedure for the remaining sections of decking, working in small segments.
Pay particular attention to the edges and corners, ensuring they are firmly secured. Use a roller or your fingers to press down and smooth the decking, guaranteeing a secure attachment.
Curing and Finishing Touches
After applying the self-adhesive EVA foam decking, it is essential to let it cure for the duration recommended by the manufacturer. This curing time is crucial for the adhesive to achieve a complete bond with the surface of the swim platform.
Once the curing period has elapsed, examine the decking for any loose edges or sections that may need further attention. If necessary, apply additional pressure and smoothing to guarantee a secure and flawless installation.
At this stage, you may also wish to incorporate any finishing touches or customization options to enhance your swim platform. This could involve adding non-slip patterns, logos, or trim pieces, based on your personal preferences.
Cleaning and Maintenance
To maintain your EVA foam decking in excellent condition, it is advisable to clean it frequently using a gentle soap or detergent mixed with water. Refrain from utilizing strong chemicals or abrasive cleaning implements that could harm the surface.
Regularly examine the decking for any indications of wear, damage, or loose edges. Promptly resolve any concerns to enhance the durability and functionality of your EVA foam decking.
Installing the EVA Foam Decking
Having prepared the swim platform and trimmed the EVA foam decking to the appropriate dimensions, you may now move forward with the installation process. Please adhere to the following steps to install the decking:
Aligning the Decking with the Swim Platform
Start by positioning one edge of the EVA foam decking alongside one side of the swim platform. Take care to ensure that the decking is accurately aligned and centered on the platform. A measuring tape or ruler can be utilized to verify the alignment.
Ensure that the decking overhangs evenly on all sides of the swim platform. This will enable you to trim any excess later for a precise fit.
Pressing and Smoothing Out the Decking
After aligning the decking, begin to press it down onto the surface of the swim platform. Start from the aligned edge and gradually move towards the remaining edges.
Exert consistent and firm pressure to guarantee that the adhesive backing properly bonds with the swim platform. You may utilize either your hands or a roller to apply pressure on the decking, ensuring that any air bubbles or wrinkles are smoothed out during the process.
Proceed with this method until the entire decking is firmly affixed to the surface of the swim platform.
Trimming Excess Decking and Creating Cutouts
Once the decking is completely adhered, you may notice some excess material extending beyond the edges of the swim platform. Utilize a sharp utility knife or scissors to meticulously trim away this surplus decking, ensuring that you follow the contours of the swim platform for clean and accurate edges.
If your swim platform includes features such as handles, brackets, or other obstructions, it will be necessary to create cutouts in the decking to accommodate these elements. Measure the dimensions of these features and mark them on the decking accordingly.
With a utility knife or an appropriate cutting tool, carefully cut out the marked sections. Take your time to make precise cuts, ensuring a proper fit around the features.
After trimming the excess decking and creating any required cutouts, examine the installation to confirm that everything is securely positioned and that the edges are tidy and well-defined.
Conclusion:
By adhering to the installation procedures detailed in this guide, you can achieve a professionally fitted EVA foam decking on your Sea-Doo swim platform. This enhancement will not only improve the aesthetic appeal of your boat but also offer a comfortable and secure surface for your aquatic activities. It is essential to take precise measurements, utilize the appropriate adhesive, and allow adequate time for the adhesive to set. With regular maintenance, your EVA foam decking can deliver years of enjoyment on the water.
We trust that this guide has been beneficial in helping you install EVA foam decking on your Sea-Doo swim platform. Should you have any additional questions or require further assistance, please do not hesitate to contact our expert team. Wishing you enjoyable boating experiences!