


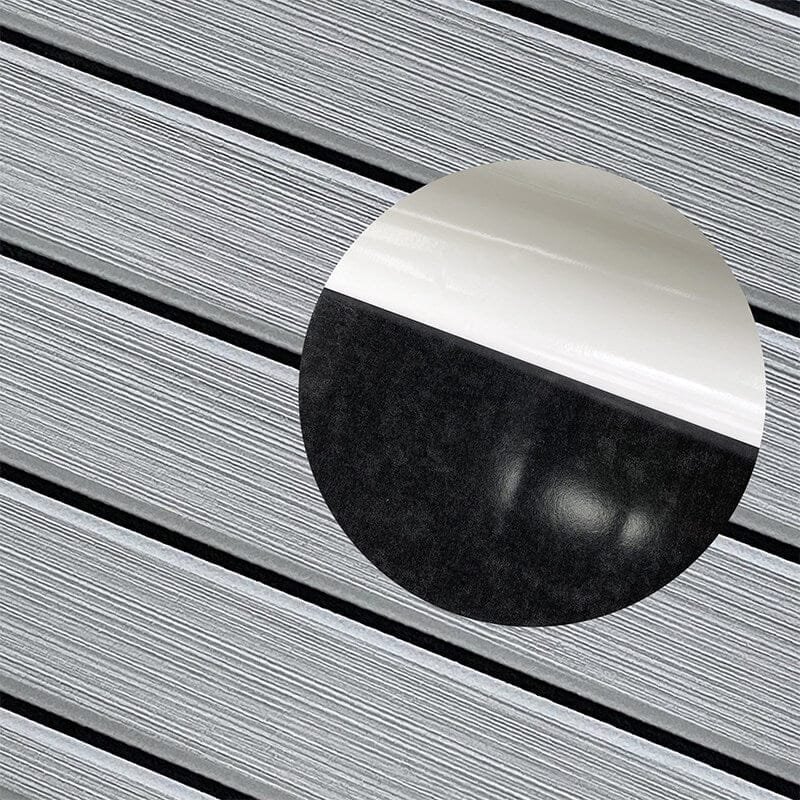
- Sheet Material
- Boat Kits
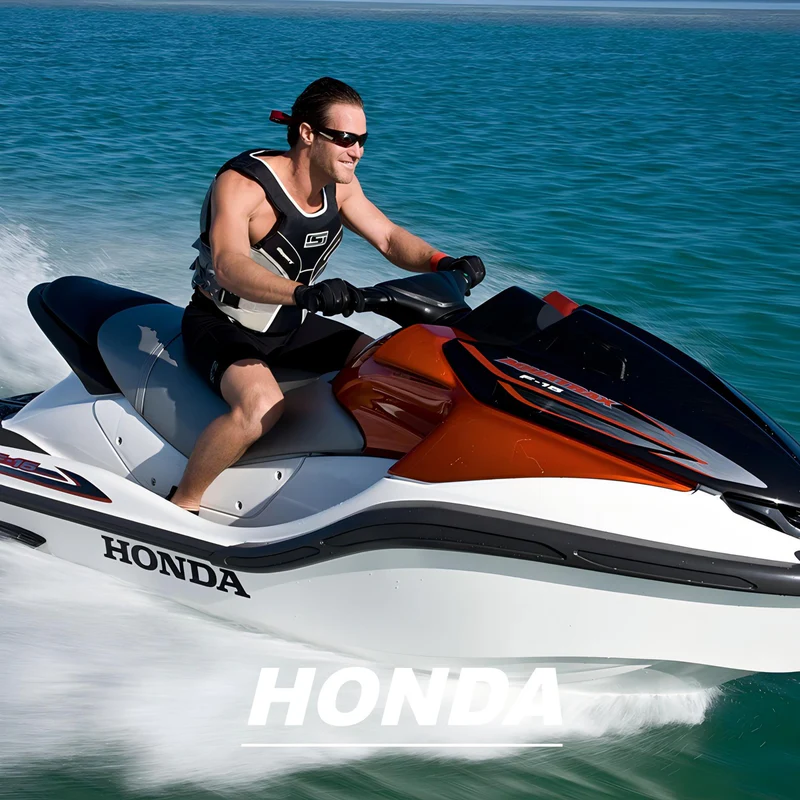
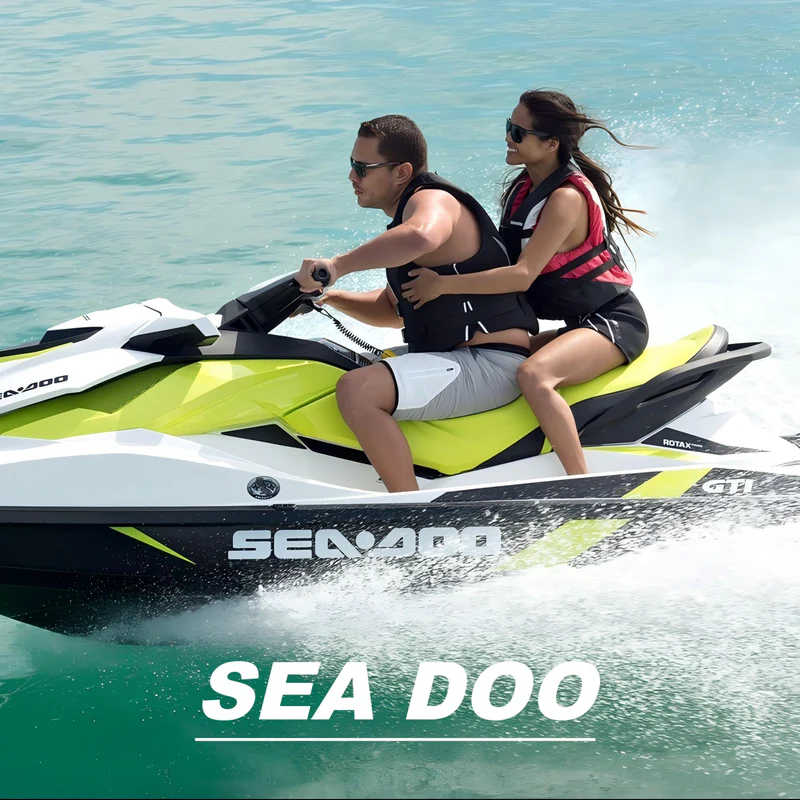
- Jet Ski
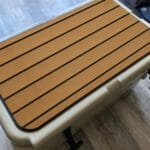
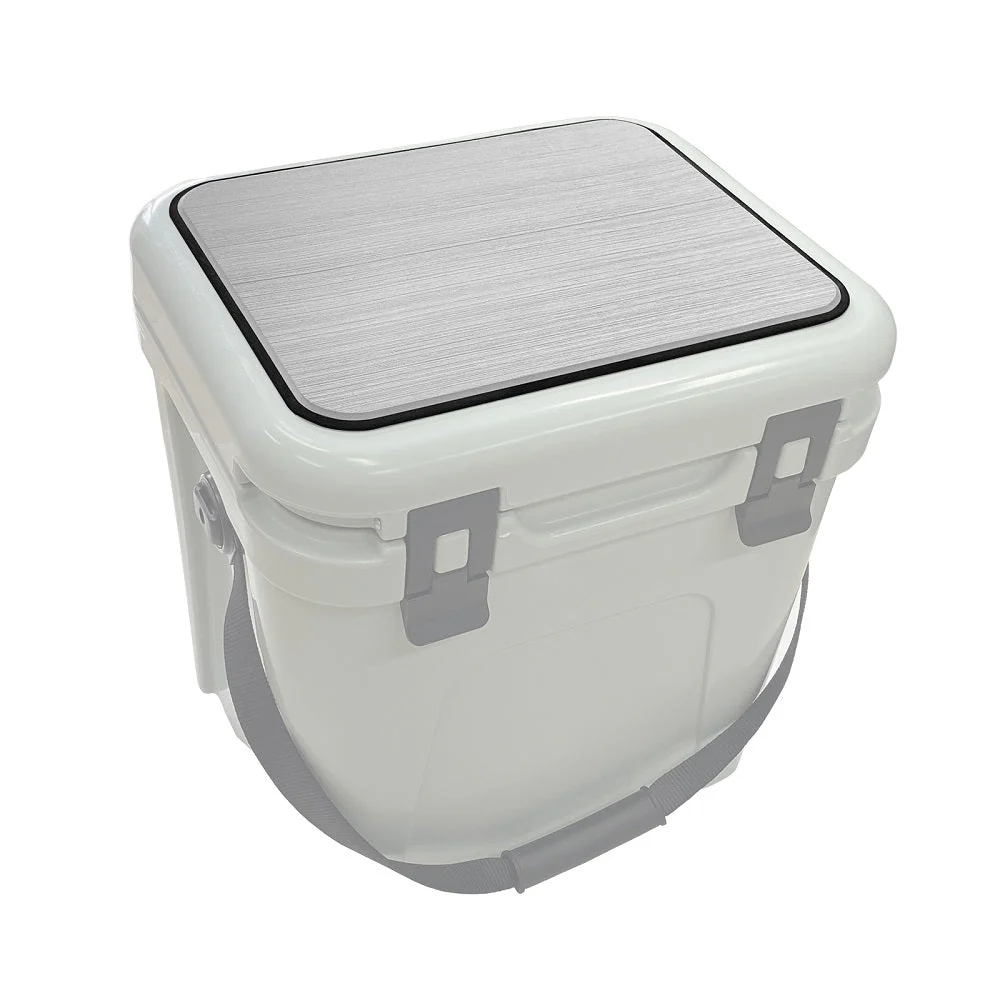
- Cooler Pads
-
 Hzsharks Southwest Cooler Pad for Yeti Tundra 45
$399.86Original price was: $399.86.$92.99Current price is: $92.99. -
 HZSHARKS Yeti Roadie 24 Cooler Mat
$20.99 – $24.99Price range: $20.99 through $24.99
HZSHARKS Yeti Roadie 24 Cooler Mat
$20.99 – $24.99Price range: $20.99 through $24.99
-
Hzsharks Cooler Cushion for Yeti Tundra 45
$69.99Original price was: $69.99.$55.99Current price is: $55.99.
-
- Fish Rulers
-
40" EVA Foam Fish Ruler for Boats
$38.99Original price was: $38.99.$21.99Current price is: $21.99. -
100cm Fish Ruler EVA Foam for Boats - Fish Measuring Stick
$19.99 – $23.99Price range: $19.99 through $23.99
-
Fish Ruler for Boats 48" EVA Foam Fish Measuring Board with Self-Adhesive Backing
$38.99Original price was: $38.99.$25.99Current price is: $25.99.
-
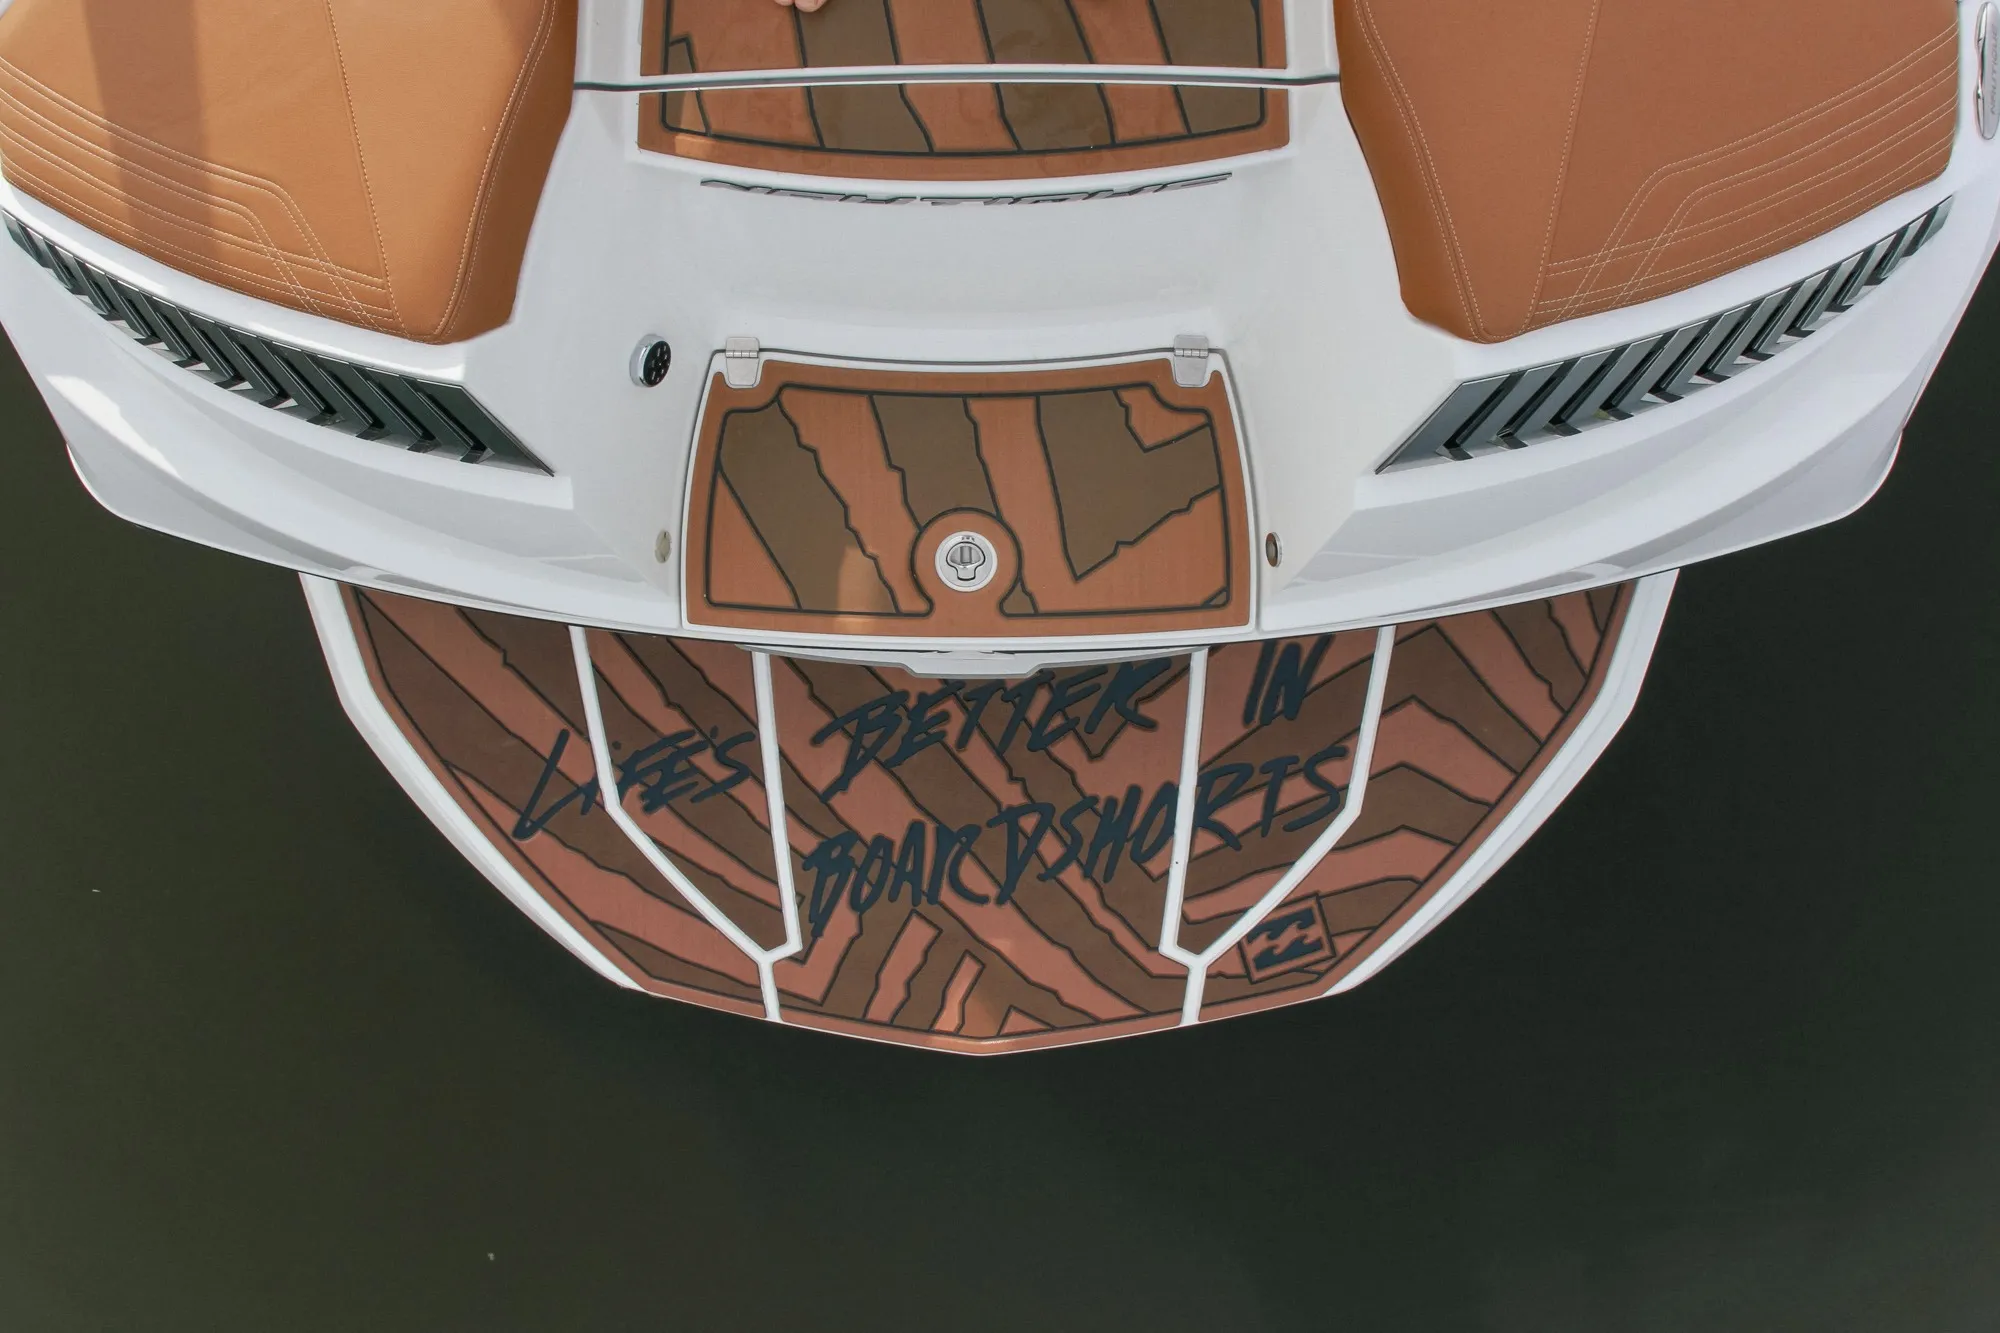
- Boat Nameplate
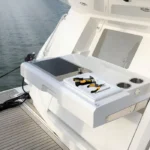
- Dash Pockets
- Tools


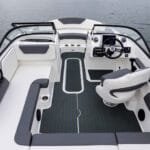
A Detailed Guide to Replacing EVA Foam Boat Flooring

As avid boat enthusiasts, we recognize the importance of having durable and comfortable flooring for your boat. If you are considering replacing your EVA foam boat flooring, you have come to the right source. This detailed guide will assist you in the process of replacing EVA foam boat flooring, ensuring a seamless and effective upgrade.
Evaluating the Requirement for Substitution
Signs of Wear and Tear
Prior to initiating the replacement process, examine your existing EVA foam boat flooring for any apparent signs of deterioration. Pay attention to sections exhibiting significant damage, color fading, or a reduction in cushioning effectiveness.
Durability Concerns
Should your EVA foam flooring exhibit indications of diminished durability, such as heightened vulnerability to cuts or indentations, it may be advisable to consider an upgrade.
Procedure for Replacing EVA Foam Boat Flooring
1. Eliminate Current Flooring
Start by meticulously detaching the current EVA foam flooring. Utilize a utility knife or a suitable tool to elevate and peel off the old flooring. Exercise caution to avoid harming the boat’s surface during this procedure.
2. Clean the Subfloor
After the removal of the old flooring, it is imperative to meticulously clean the subfloor. Eliminate any adhesive remnants, dirt, or debris. A clean and even subfloor is crucial for ensuring the proper adhesion of the new EVA foam flooring.

3. Measure and Cut
Carefully assess the dimensions of your boat’s flooring area. Utilize these measurements to trim the new EVA foam flooring material. An exact fit is essential for achieving a professional appearance and ensuring functionality in the replacement.
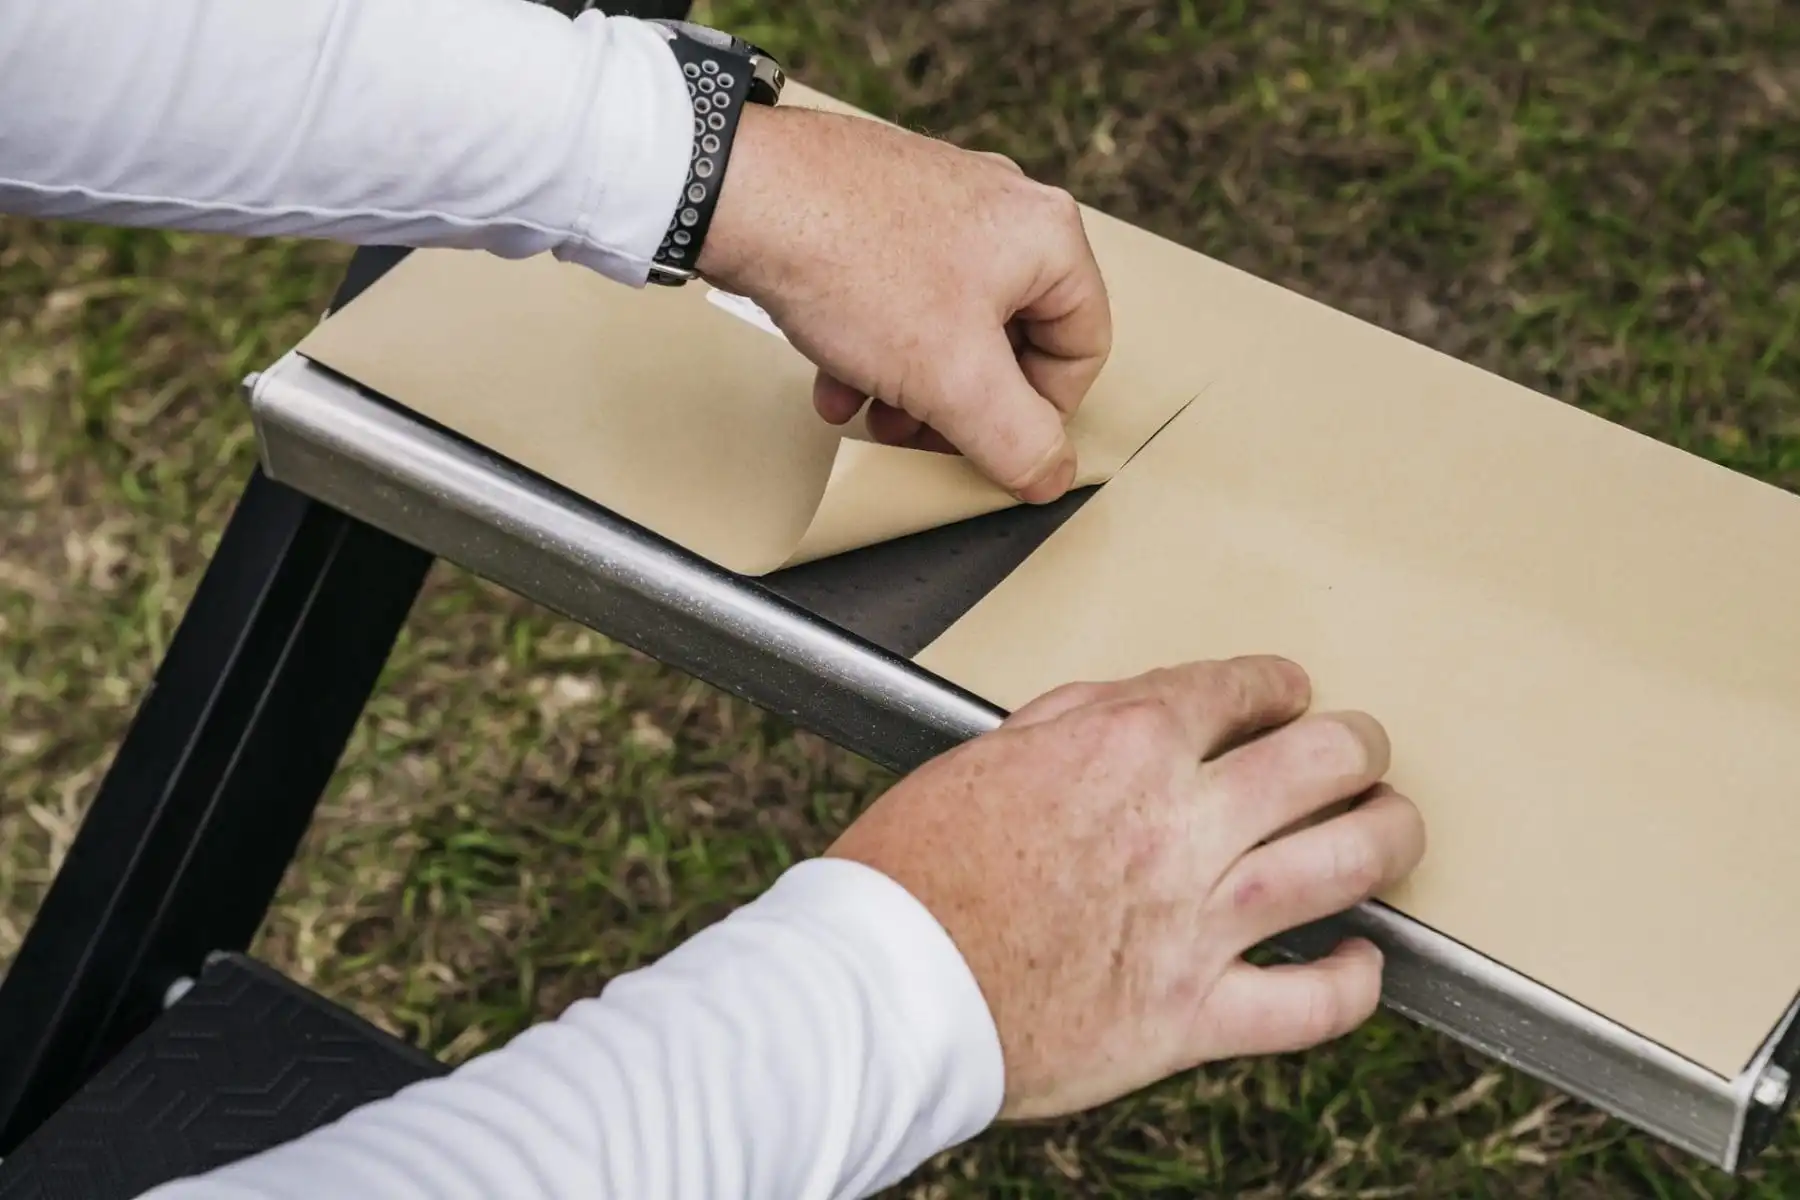
5. Install the New Flooring
Meticulously install the new EVA foam flooring by firmly pressing it onto the subfloor that has been coated with adhesive. Begin at one end and progress across, ensuring to smooth out any wrinkles or air bubbles during the process.

6. Trim Excess Material
After the new flooring has been installed, trim any surplus material along the edges to ensure a clean and polished appearance. Employ a sharp utility knife to make precise cuts.

7. Ensure Adequate Curing Duration
Allow the adhesive adequate time to cure and securely bond the EVA foam to the subfloor. Adhere to the manufacturer’s instructions regarding the suggested curing durations prior to placing the flooring under significant use.

Advantages of EVA Foam Boat Flooring
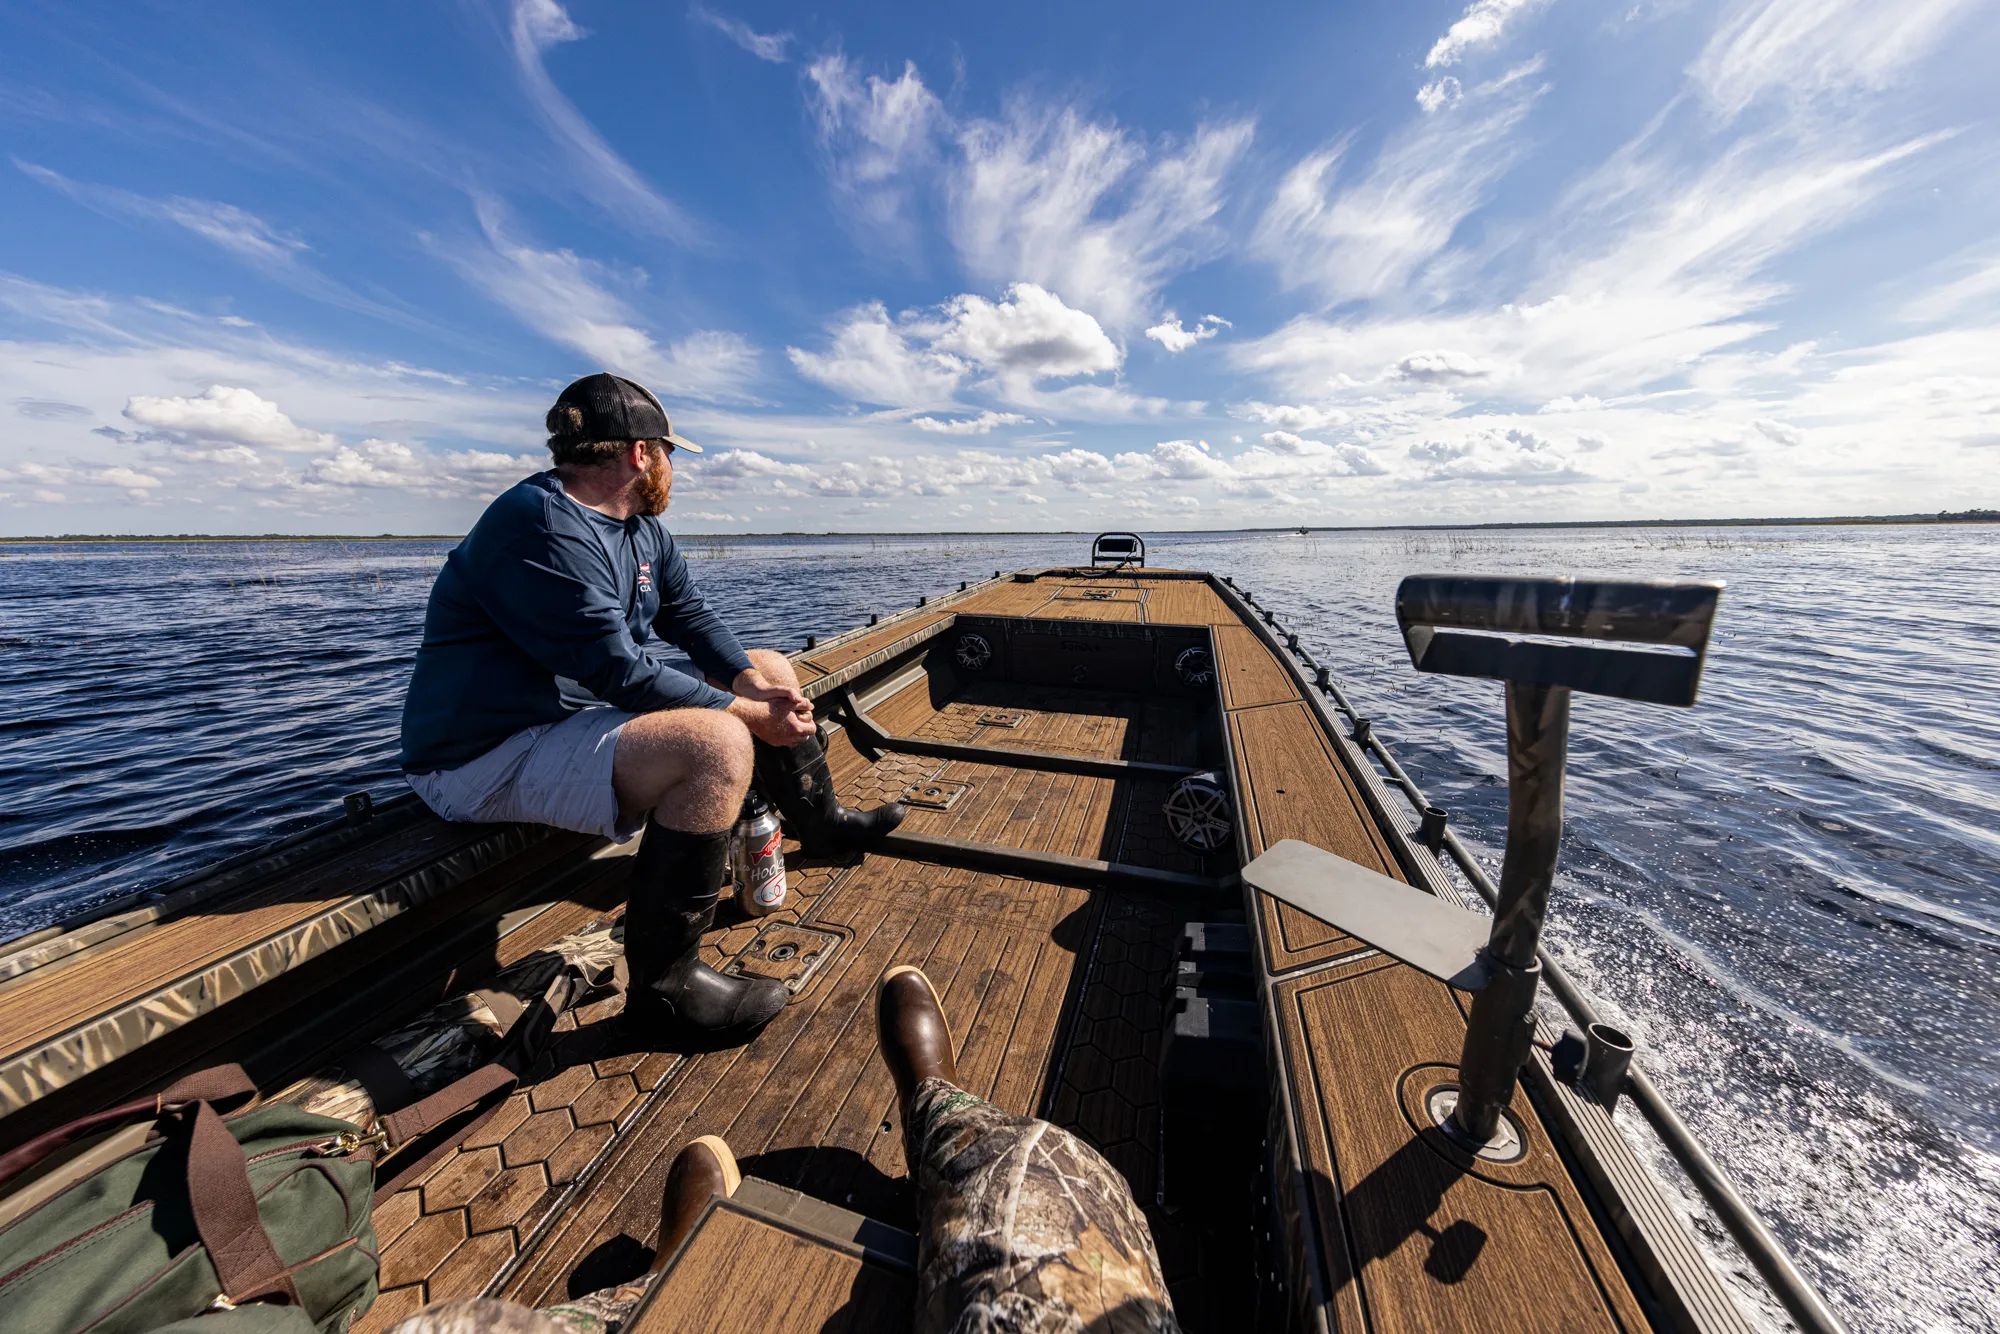
Comfortable Underfoot
EVA foam offers a soft and comfortable surface for your feet, improving your overall experience while boating.
Non-Slip Properties
The natural non-slip characteristics of EVA foam render it a secure and dependable option for boat flooring, particularly in moist environments.
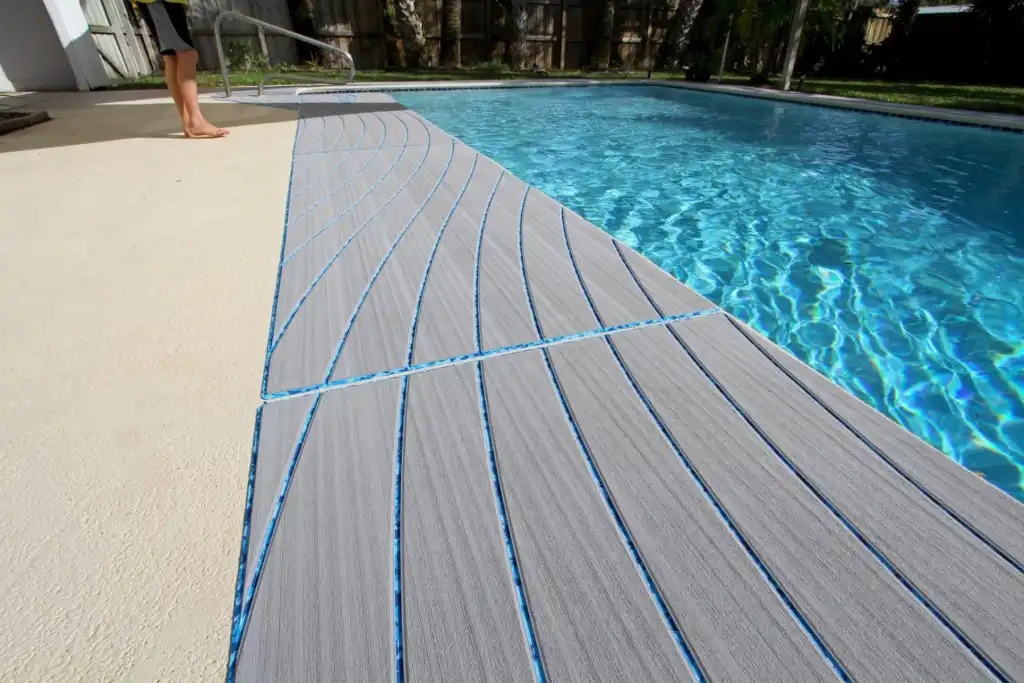
Easy Maintenance
EVA foam is simple to clean and maintain, necessitating little effort to ensure your boat flooring remains in excellent condition.
Conclusion
Replacing the EVA foam flooring in your boat can revitalize its appearance and comfort. By adhering to these detailed guidelines, you can achieve a smooth and effective enhancement. Navigate with assurance on a refreshed boat floor that elevates both its design and practicality.